
")
Are you looking to add a personal touch to your home decor and save some money while doing so? Creating your own DIY table might be the perfect project for you! Not only will it serve as a functional piece of furniture, but it can also become a conversation starter in any room.
In this “DIY Guide: How to Build Homemade Tables for Your Home Decor Needs”, we’ll walk you through the benefits, various types of tables you can build, materials needed, and step-by-step instructions.
Key Takeaways
- Building homemade tables allows for customization of furniture to fit specific needs and personal style, while also being cost-effective and environmentally sustainable.
- Various types of DIY tables can be built, including dining tables, outdoor tables, coffee and side tables, and console tables.
- Essential materials needed to build a homemade table include wood, saws, drills, screws and nails, wood glue, sandpaper, and finishing products such as varnish or paint.
- Safety precautions should be taken when cutting wood with tools like saws. Online resources provide free plans and tutorials for building DIY furniture projects.
Benefits Of Building Homemade Tables
Building homemade tables offers a range of benefits, including the ability to design custom furniture that is tailored to your personal style and needs, as well as being more cost-effective and environmentally sustainable than buying pre-made pieces.
Custom Design
One of the top benefits of building homemade tables for your off-grid home is the ability to create a custom design tailored to your specific needs and preferences. Rather than settling for mass-produced furniture that may not fit your space or aesthetic, constructing a DIY table allows you to decide every detail – from size and shape to material choice and finishing touches.
In addition, having full control over the design process enables you to incorporate personal elements into your furniture while staying true to the off-grid lifestyle. You could use locally-sourced reclaimed wood as an environmentally sustainable option or even include unique features like hidden storage compartments or built-in planters.
Personalized Touch
One of the major benefits of building a homemade table is that it allows you to add your own personalized touch to your home decor. With DIY furniture, you have more creative control over the design and style of your table.
For example, if you’re into farmhouse-style decor, you could build a rustic-looking dining table with distressed finishes on the wood. Alternatively, if you prefer modern styles, you could opt for clean lines and minimalistic designs for a sleeker look.
Cost-effective
Building a homemade table is a cost-effective way to decorate your home without breaking the bank. Purchasing furniture from stores can be expensive, but with DIY table building, you can customize your design and save money at the same time.
Not only do homemade tables offer lower costs upfront, but they also provide long-term savings as well. When purchasing pre-made furniture, homeowners often need to replace them frequently due to wear and tear.
However, by building quality handmade tables that suit specific needs and styles, individuals save themselves from having to purchase new pieces of furniture every few years.
Environmentally Sustainable
Building homemade tables is an excellent way to reduce your carbon footprint and embrace a more environmentally sustainable lifestyle. By creating your own custom furniture, you can avoid buying mass-produced pieces that are often made from unsustainable materials and come with a hefty carbon cost due to shipping and manufacturing processes.
When building your DIY table, consider using reclaimed wood or eco-friendly materials like bamboo or recycled steel instead of virgin lumber. You could also opt for water-based finishes over petroleum-based ones that emit harmful VOCs (volatile organic compounds) into the air.
Types Of DIY Tables You Can Build
There are many types of DIY tables you can build, including dining tables, outdoor tables, coffee and side tables, and console tables.
Dining Tables
One of the most popular DIY table projects is building a dining table. Whether you have limited space or are looking for a statement piece for your dining room, designing and creating your own handmade table can be incredibly rewarding.
With options ranging from farmhouse-style to sleek modern designs, there’s no shortage of inspiration and plans available online. Additionally, building your own dining table allows you to customize it to fit perfectly in your home while being cost-effective and environmentally sustainable.
Outdoor Tables
Outdoor tables are an excellent addition to any off-grid home as they offer a convenient space for outdoor dining and gatherings. There are various types of DIY outdoor tables available, including picnic tables, patio tables, and garden tables.
These can be made from materials such as cedar or treated lumber that is resistant to weathering and insect damage.
When building an outdoor table, it’s important to keep in mind the dimensions needed for your specific needs. Consider the amount of space available on your deck or patio where you plan to place the table.
Additionally, ensure that you select sturdy materials that can withstand harsh environmental elements such as rain and sunlight exposure.
Coffee And Side Tables
Coffee and side tables are great options for people who have small living spaces. These tables can be easily built from simple materials like wood pallets, giving a rustic look to the room.
Coffee tables do not require much assembling, a few screws or nails would suffice.
A great example could be creating a set of nested tables with interchangeable tops made out of different materials such as glass, reclaimed wood etc., providing flexibility in use while also being space-efficient.
Another great idea is using crates as DIY coffee tables – they’re easy to come by and can be customized according to decor style, either stacked or standalone options fit well in off-grid homes without compromising functionality.
Building one’s own furniture at home ensures cost-effectiveness while also allowing comfort through personal preference/creativity.
Console Tables
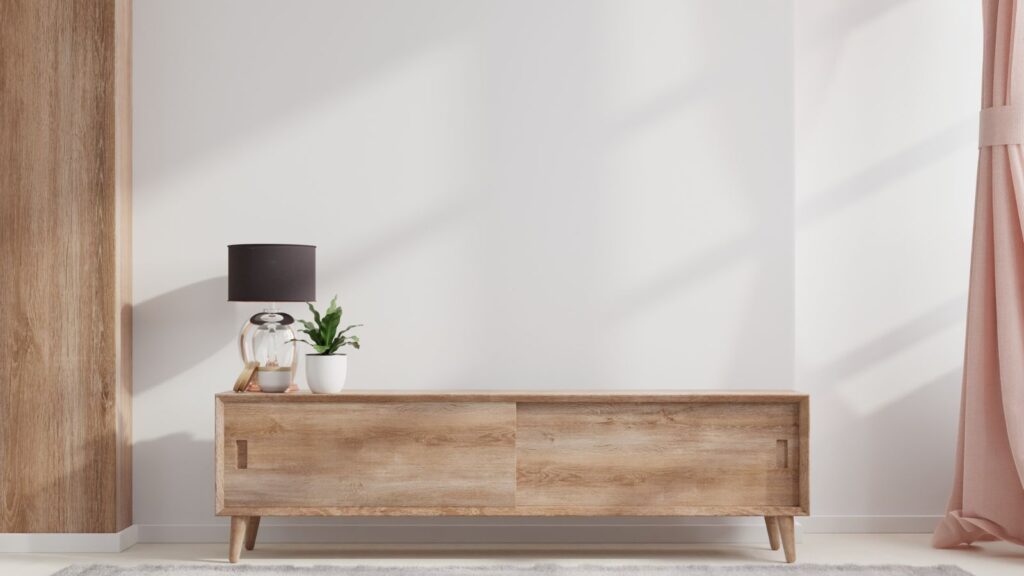
Console tables are slim and narrow, making them perfect for small spaces that need a little extra storage. They’re typically used in entryways or hallways to display decorative items like vases or picture frames.
However, console tables can also be practical pieces of furniture with drawers and shelves for storing keys, mail, or other small items. With DIY table building projects, you can customize the size and design of your console table to fit perfectly in your space while providing both functionality and style.
Some ideas include adding rustic elements like reclaimed wood or metal accents to achieve a farmhouse aesthetic, or incorporating modern designs with sleek lines and minimalist features that give your home an updated look.
Materials And Tools You’ll Need To Build Your DIY Table
To successfully build your own DIY table, you will need various tools and materials, including wood, a saw, drill, screws and nails, wood glue, sandpaper, and finishing products such as varnish or paint.
Wood
Wood is the most common material used in table building projects and can come in various types, such as pine, oak, maple, and mahogany. Each type of wood has its own unique characteristics that make it suitable for specific purposes.
When selecting wood for your DIY project, it’s important to consider durability and sustainability. Reclaimed or salvaged wood can be an excellent option since they are eco-friendly and have characterful features like knots or scratches.
By incorporating these elements into your homemade table project, you’ll not only create a unique piece of furniture that fits perfectly into your home decor aesthetics but also contribute positively towards a sustainable way of living which off griders value highly.
Saw
To build a homemade table, one of the essential tools that you’ll need is a saw. A saw can help you cut wood precisely and accurately to create the components of your DIY table, including legs, aprons, and tabletops.
Whether you’re using a circular saw or hand saw, it’s important to take safety precautions when cutting wood. Wear protective gear such as goggles and gloves to avoid injuries.
When choosing a type of saw for your project, consider factors such as its blade size and its ability to make different types of cuts like angled cuts. You also need to ensure that your chosen saw suits your skill level so that you can achieve the desired results for the design plan comfortably.
While buying new equipment for woodworking purposes may cost more initially than buying used ones; if well-maintained they can last longer continuing many projects over time making this an excellent investment in their off-grid living toolbox.
Drill
One of the essential tools you’ll need to build your DIY table is a drill. A drill is handy for making holes for screws and drilling pilot holes, which can prevent wood from splitting.
When choosing a drill, look for one with multiple speed settings that are adjustable according to the materials you’re working on.
If you’re new to woodworking and don’t have space or budget for a full-size drill press, a cordless handheld model may be suitable for your needs. Many drills come with a variety of bits and attachments suitable for different tasks, so check what’s included before buying additional accessories separately.
Screws And Nails
When building your DIY table, the right screws and nails are essential in ensuring stability and durability. Generally, wood screws and finishing nails are recommended for constructing tables.
Wood screws come in different sizes, lengths, and head types; choosing the right size depends on the thickness of the wood being used.
Finishing nails are perfect for securing parts with less stress like attaching aprons to legs or holding together smaller trim pieces. When using finishing nails, it’s essential to pre-drill small pilot holes before hammering them into place to prevent splitting.
Keep in mind that when nailing two pieces of woods together with their grain perpendicular to each other (end-grain joints), it is best to avoid using just glue or nails as they offer limited strength over time.
Wood Glue
Wood glue is an essential material when building a table as it helps to hold the various components together. Wood glue creates a strong and durable bond that can withstand constant use and weight-bearing.
There are different types of wood glue available in the market, including PVA (polyvinyl acetate) glue, epoxy resin, and cyanoacrylate (super glue). PVA is commonly used in woodworking projects due to its affordability and ease of use.
When applying wood glue during the construction process, ensure that you use enough but not too much to avoid creating a mess or excess buildup.
DIY enthusiasts who opt for homemade tables should consider investing in high-quality wood glue to ensure stability and longevity.
Sandpaper
After constructing the table base and attaching the tabletop, sanding is an essential step for a smooth and polished finish. Sandpaper comes in different grits, ranging from coarse to fine.
It is important to start with a coarse grit of sandpaper before moving on to a finer one. When using sandpaper, apply even pressure and work in the direction of the grain to prevent scratches.
Once you have achieved your desired smoothness, wipe away any dust or debris before applying finishing products such as varnish or paint.
Finishing Products (varnish, Paint, Etc.)
To achieve the desired look and protect your DIY table, you may want to consider using finishing products such as varnish, paint or stain. Varnish serves as a clear protective layer that helps preserve the natural color and texture of wood tables while providing resistance against scratches.
Alternatively, paint can add a pop of color or complement the room’s decor, depending on your preference. Stain is another option that can enhance the wood grain patterns for an earthy rustic feel.
When applying any finishing product, make sure to follow manufacturer instructions carefully and apply evenly to achieve a professional-looking result.
Step-by-Step Guide To Building Your Own Table
To build a table, you will need to choose a design, measure and cut the wood, assemble the table base, attach the tabletop, sand and finish it with varnish or paint, and add any desired details.
Choosing A Design
Before starting your DIY table building project, it’s crucial to decide on a design that suits your needs and preferences.
Consider the size of the space where you plan to place the table. If it’s for outdoor use, think about how weather-resistant materials can be used.
Measuring And Cutting The Wood
Before starting any DIY table project, it’s important to measure and cut the wood correctly. Accurate measurements will ensure that the tabletop is level and balanced, while precise cuts will make sure each piece fits together perfectly.
To begin, mark out your measurements on the wood using a measuring tape or ruler. Use a saw to carefully cut along these lines, making sure to keep a steady hand.
It’s also important to consider the type of wood you’ll be using when building your table. Hardwoods like oak or maple are more durable than softwood varieties like pine or spruce but can be more expensive.
If you’re looking for an eco-friendly option, reclaimed wood from old furniture or pallets might be a great choice! Make sure to clean and prepare any used materials before beginning construction for best results.
Assembling The Table Base
The table base is a crucial part of building your own DIY table. It’s important to ensure the stability and durability of your homemade project. To assemble the table base, you’ll need to join together the legs and aprons using screws, nails or wood glue.
If you’re looking for stability on uneven floors, attaching levelers can be an excellent solution. Levelers are adjustable feet that can help even-out any wobbles while providing additional support for heavier tabletops.
By following these steps carefully and choosing high-quality materials, you can create a sturdy yet stylish DIY dining room table that will last for years!
Attaching The Tabletop
Once the table base is assembled, it’s time to attach the tabletop. Start by placing the tabletop on top of the base and centering it properly. Use screws to secure the tabletop onto the aprons and legs of the table base.
You can also reinforce your table construction by using metal L-brackets or wood blocks underneath where legs meet with aprons. This will add extra stability, especially for heavier tables or outdoor use where wind could move your furniture around.
Once finished, sand any rough edges or surfaces and apply a coat of varnish or paint for protection against scratches and moisture damage.
Sanding And Finishing
After the table has been assembled, sanding and finishing are crucial to create a smooth and polished look. Start by using sandpaper to remove any rough edges or imperfections on the tabletop and legs.
Once the surface is adequately sanded down, it’s time to apply finishing products such as paint, stain or varnish. These can protect the wood from scratches or damage while enhancing its natural beauty.
Consider using eco-friendly finishes such as plant-based oils instead of synthetic ones for more sustainable options.
Adding Details And Accents
Once you have assembled the base and attached the tabletop, it’s time to add those finishing touches that will make your DIY table stand out. Details such as decorative edges on the tabletop or intricate designs carved into the legs can give your table a unique look that reflects your personal style.
Another way to elevate your DIY table project is by incorporating reclaimed materials into the design. Salvaging wood from old barns, pallets, or other sources not only adds character but also supports sustainable living practices.
Additionally, adding accents like vintage drawer pulls or repurposed industrial elements can create an eclectic yet cohesive look for your off-grid home décor needs.
Conclusion
In conclusion, building your own table is a great way to add a personal touch to your home decor while also saving money. With the right materials and tools, anyone can successfully build their own DIY table.
Remember to measure carefully, choose the right design for your needs, and take your time during the construction process. There are many resources available online with free plans and tutorials to help you get started on your furniture-building journey.
FAQs:
1. What type of wood is best for building homemade tables?
When it comes to building a homemade table, the type of wood you choose will depend on your personal preference and design aesthetic. However, some popular options include pine, oak, maple or walnut due to their durability and attractive natural finishes.
2. Do I need advanced woodworking skills to build my own table?
You don’t necessarily need advanced woodworking skills to build your own table but some basic knowledge of measuring and sawing should be enough! Many DIY tutorials offer step-by-step instructions with illustrations or videos that make the process easy-to-follow even for beginners.
3. How can I personalize my homemade table?
Personalizing your homemade table involves customizing its style, size or finish by incorporating unique elements such as patterned tiles on tabletops, unique leg shapes or engraving designs onto its surfaces using special tools like a chisel set!
4. How much time does it take to complete a homemade table project?
The amount of time needed to complete a DIY table project depends upon various factors including the complexity of the design, availability of necessary materials & familiarity with technique involved in creating desired look etc.. But generally speaking – most projects take anywhere from several hours up-to few days depending upon degree-of difficulty involved & resources available at hand during construction process.
