Looking for an affordable way to generate electricity? You can easily convert a car alternator into a brushless generator with a little bit of modification. This guide will walk you through the process step-by-step.
Tools and Materials You Will Need:
- Car alternator
- Welding equipment
- Insulating tape
- Neodymium magnets
- Instant adhesive or cyanoacrylate
- Bench drill
- Coca Cola bottle
- Epoxy resin
- Copper winding cables
- Heat shrink insulation
- Rear bearing
- Motor
- Wooden base
- Transmission belt
- Electrical devices
Instructions:
- Disassemble the Alternator Pulley: Attempt to disassemble the pulley by removing the screws, but since the pulley has a special bearing, you cannot remove it. Instead, weld a piece of iron between the pulley and the bearing to block the bearing of the pulley. Now, you can disassemble the pulley.
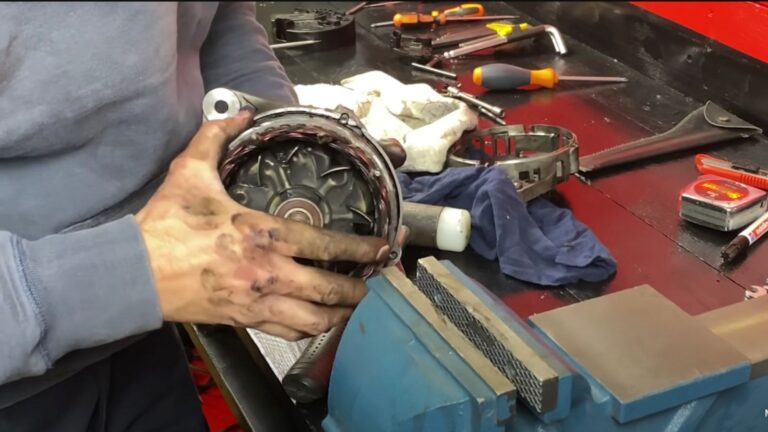
- Remove the Alternator: Disassemble the rear cover and remove all the screws. Remove the support of the brushes or carbons, as you don’t need this part. Also, remove the diode rectifier because it is not necessary. Cut the diodes to remove them.
- Remove the Coil Connections: Remove the screws from the alternator housing and open the housing. Remove the copper winding and the shaft.
- Modify the Rotor: Cut all the iron parts of the rotor that look like iron fangs. Put the rotor in the bench drill and smooth the iron surface that you have cut. Roll insulating tape to make the surface flat so that you can stick the magnets.
- Glue the Neodymium Magnets: Glue the magnets on one side, right where the pieces of iron that you have cut were. Glue them with instant adhesive or cyanoacrylate. Fix the magnets with electrical tape until the adhesive dries. Continue gluing all the magnets in pairs, ensuring that they have the south pole facing out.
- Prepare the Epoxy Resin: Empty a bottle of Coca Cola and cut two pieces of the plastic bottle. Wrap the container with the pieces of plastic and fix the pieces of plastic with insulating tape. Seal one end with hot silicone. Prepare the Epoxy Resin mixture and fill the entire container. Let it dry for 24 hours.
- Solder the Copper Winding Cables: Solder the copper winding cables and weld three cables in the three connections of the coils. In each weld of the cables, place heat shrink insulation.
- Assemble the Brushless Electric Power Generator: Place the rear bearing of the shaft and mount the copper winding on the rear cover of the casing. Put the rotor shaft in its place and put the front cover in place. Put the screws back to join the casing. Fix an electrical connection strip with flanges to the rear cover of the electric generator and connect the three cables. Fix the pulley on the Y axis.
- Couple the Single-Phase Motor: Manufacture the motor support and assemble the motor pulley. Make the bracket for the Brushless Generator and manufacture the support of the Brushless Electric Generator. Fix the motor and generator on the wooden base.
- Connect the Generator and Motor with the Transmission Belt: Put the transmission belt and make all the electrical connections.
- Test the Perpetual Power Generator: Connect several electrical devices and activate the switch. Wind the starter cable, and the generator will produce enough energy to start the engine, and the motor will continue to move the generator. The electrical system feeds itself and generates more electricity than it consumes.
Conclusion
By following these steps, you can easily modify a car alternator into a brushless generator and create a perpetual power generator that generates 220 volts and 10,000 watts of power. Not only is it an affordable way to generate electricity, but it is also a fun DIY project.
However, it is important to exercise caution while working with welding equipment and electrical devices. Make sure you have the necessary knowledge and experience to handle these tools safely. It is also advisable to have a licensed electrician inspect and approve your generator before using it for long-term applications.
With this DIY guide, you can save money and generate power for your home or small business. So go ahead and give it a try!